Shardeum is an EVM-compatible, Layer 1 blockchain optimized for endless scalability using dynamic state sharding. In contrast to classical chains where throughput is limited, Shardeum dynamically shards the workload and state depending on network load, allowing horizontal scaling.
It ensures decentralization and security without compromising performance, thanks to features like:
- Linear scalability: TPS increases with more validator nodes.
- Low gas fees: Predictable and minimal transaction costs.
- True decentralization: Anyone can run a validator node and participate in consensus.
- EVM compatibility: Seamless support for Solidity-based dApps.
In short, Shardeum is built to solve the blockchain trilemma by offering speed, scalability, and security in one package.
Now let’s see how you can contribute to this network by running a validator node — with just a few clicks.
Deploying a Shardeum Validator Node with Instanodes: Step-by-Step Guide
Thanks to Instanodes, setting up a validator node no longer requires extensive DevOps knowledge. It automates deployment, so you can focus on staking and rewards, not configuration hassles.
Here’s how to get started:
Step 1: Access the Dashboard
- Start your journey by visiting the official site: https://www.instanodes.io/
- Click on Sign In at the top right corner.
- You’ll be redirected to the login page: https://app.instanodes.io/login
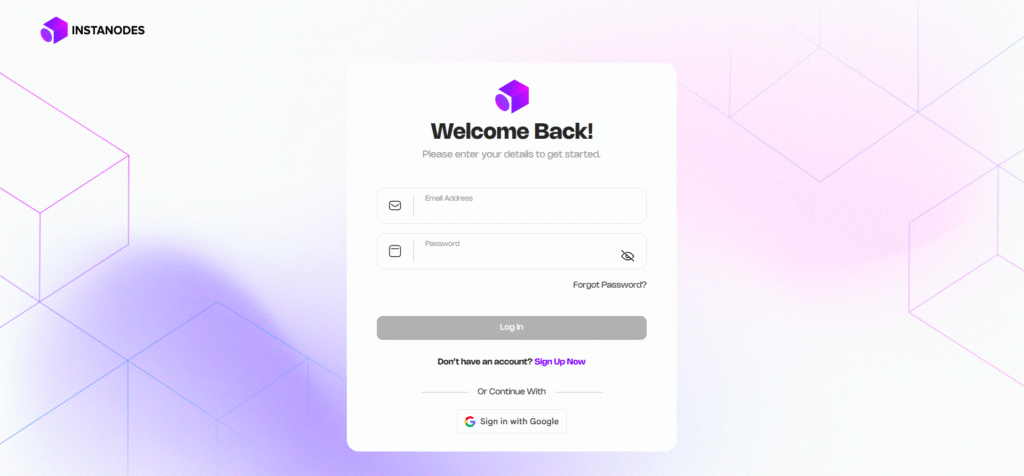
- Don’t have an account?
→ Scroll down and click Sign Up
→ Enter your name, email ID, and password
→ An OTP (One-Time Password) will be sent to your email. Enter it to verify. - You get 3 attempts to verify your account within 24 hours.
Alternatively, you can use social login (like Google or GitHub) for quicker access.
Already registered? Just log in and skip to the next step.
Step 2: Create a Shardeum Validator Node
Once logged in, you’ll land on the Instanodes dashboard. Here’s what to do:
- Click on ‘Deploy’

- Choose Shardeum from the available blockchain networks.
This will take you into the deployment flow for launching your validator node.
Step 3: Select a Plan
Instanodes offers flexible pricing plans to suit all types of users, whether you’re experimenting with one node or planning a large-scale deployment.
- Choose your preferred plan (1 month/3 months/ 6 months).
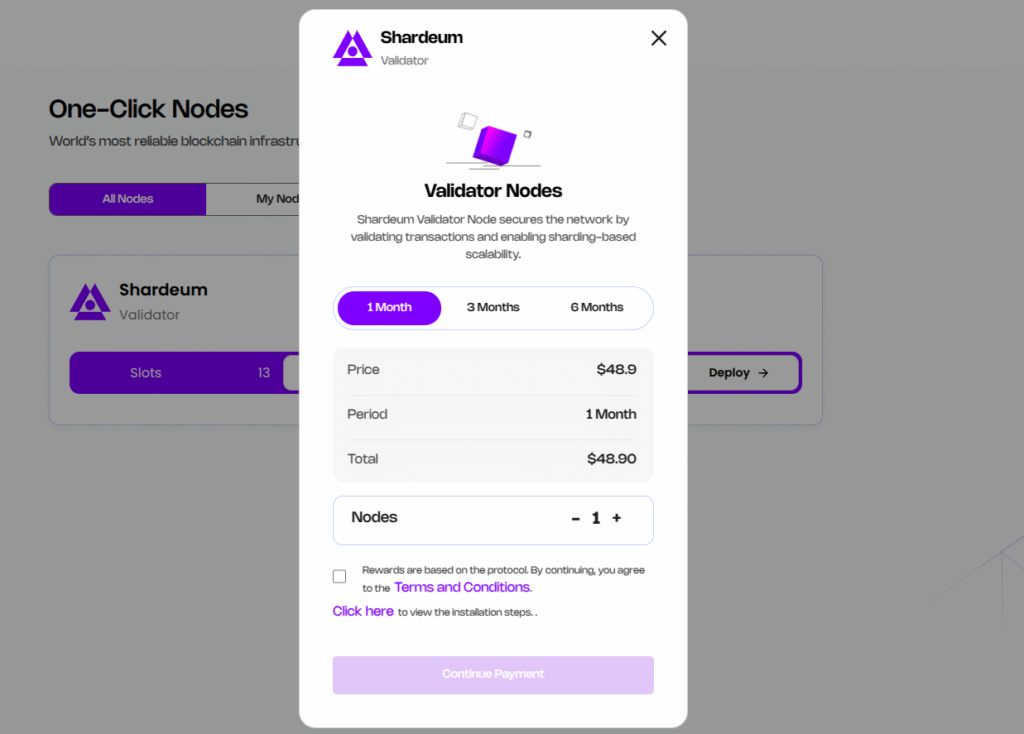
- Select the number of nodes you want to deploy.
This is great for those who want to scale their validator operations or diversify across networks in the future.
Step 4: Continue to Payment
Once you’ve finalized your plan:
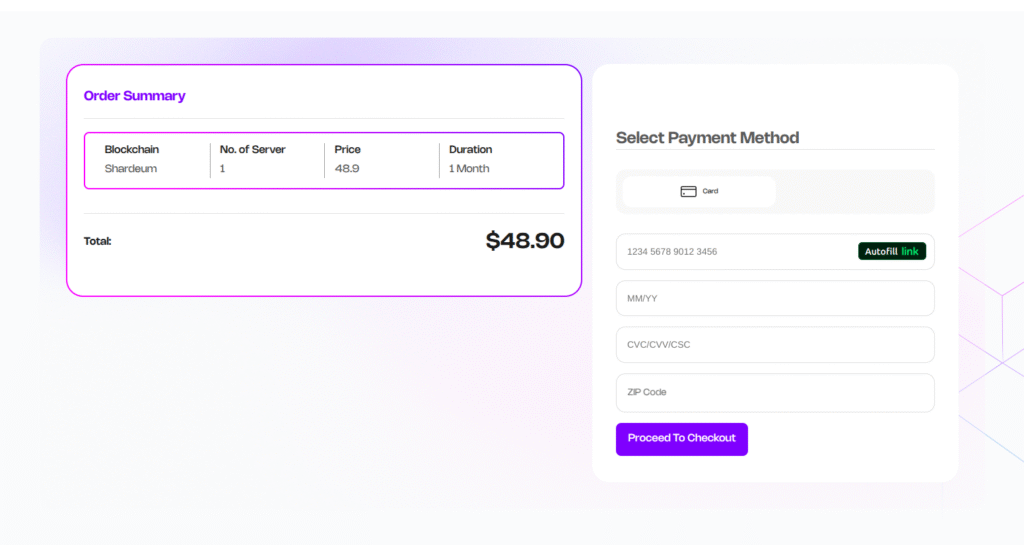
- Click on ‘Continue Payment’
This will lead you to a secure checkout portal.
Step 5: Make a Payment
Instanodes supports international payment options:
- You can easily pay with your international debit or credit card.
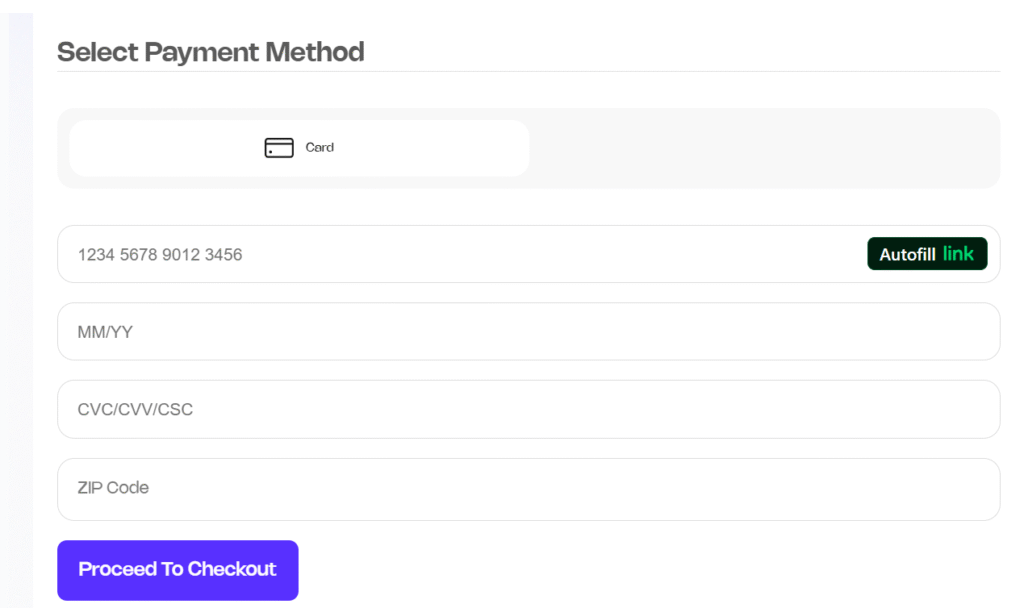
- No complex wallet connections or crypto payments required.
This fiat on-ramp support makes node deployment accessible to a global audience.
Step 6: Thank You Message
After a successful transaction, you’ll see a Thank You message confirming your payment and deployment.
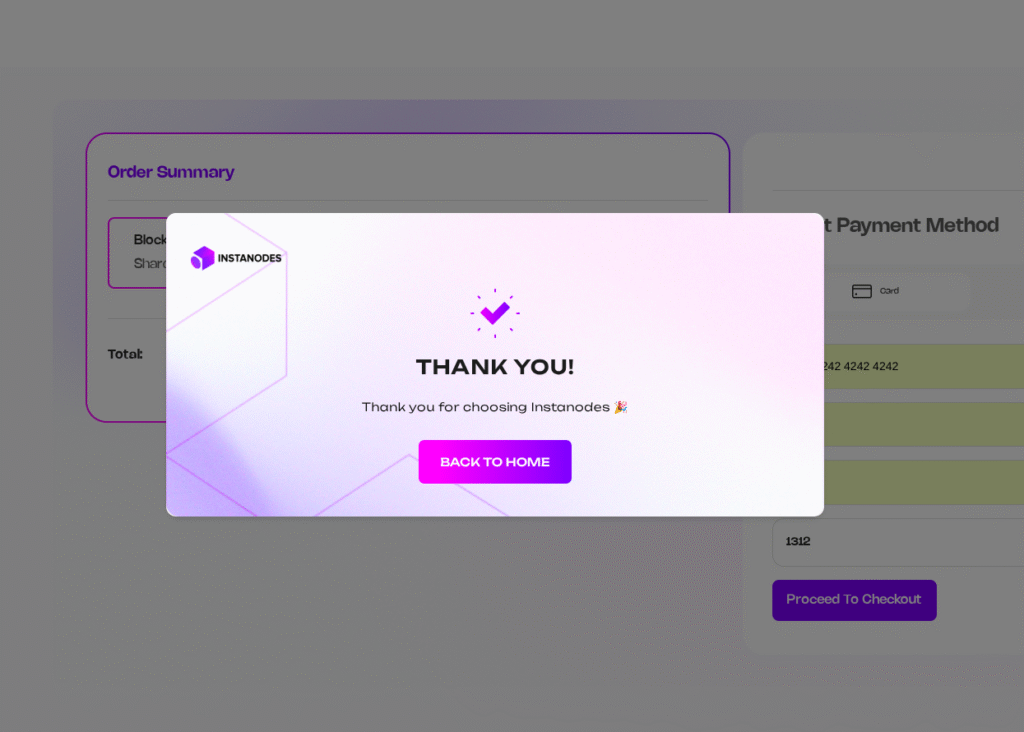
Your validator node is now being provisioned!
Step 7: Node(s) Are Ready
Within minutes, your Shardeum validator node will be live. You’ll be able to:
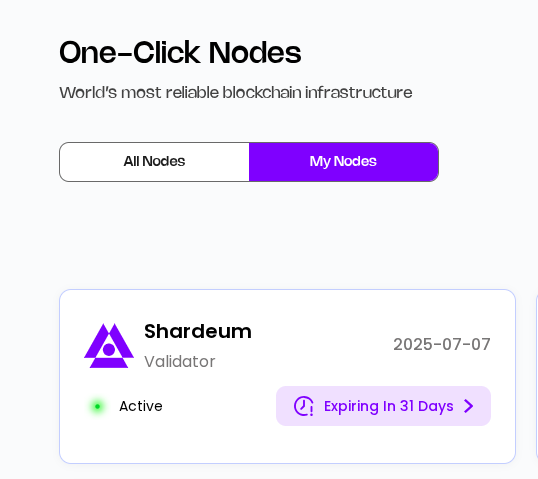
- View node status
- Monitor uptime & health
- Access logs and metrics
- See your earnings dashboard
No terminal commands. No server setup. Everything is managed and monitored through the Instanodes UI.
Step 8: View Your Node(s)
Once the nodes are up:
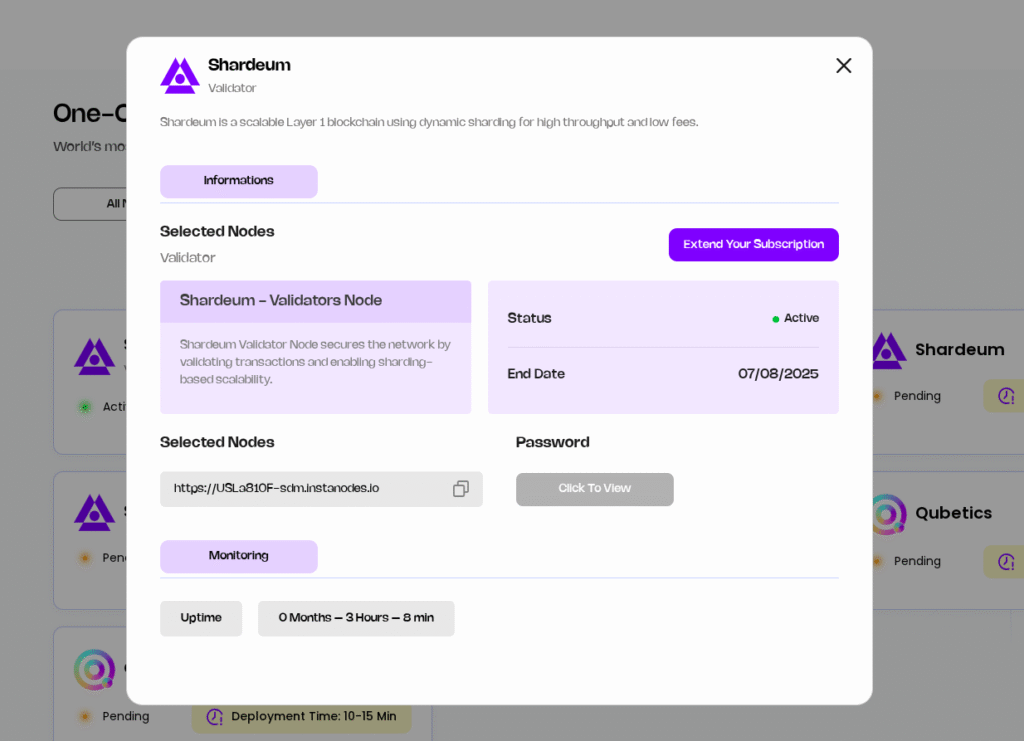
- Copy and paste your node link into your browser.
- You will be asked to enter a password — click on the ‘View’ button.
- Note: This password is one-time-use only and will disappear after you use it.
This interface lets you inspect your node status and interact with its local settings.
Step 9: Connect to Wallet
Now, you’ll need to connect your Shardeum wallet to the validator node.
- Open the wallet connection interface on your node page.
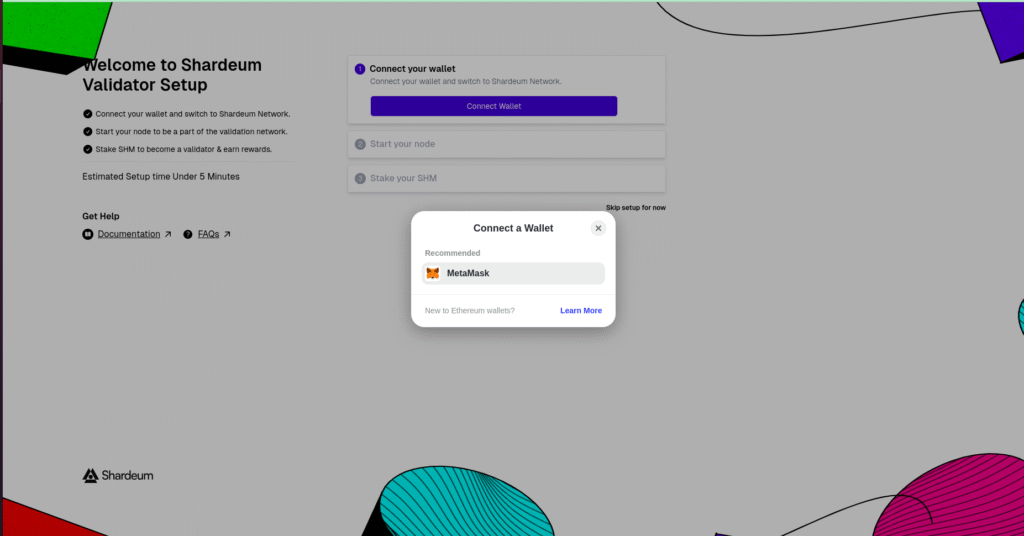
- Connect your Web3 wallet that holds SHM tokens.
This is a crucial step that links your validator node to your stake and identity on the Shardeum network.
Step 10: Start the Node
Once your wallet is connected:
- Click the ‘Start Node’ button on the far right.
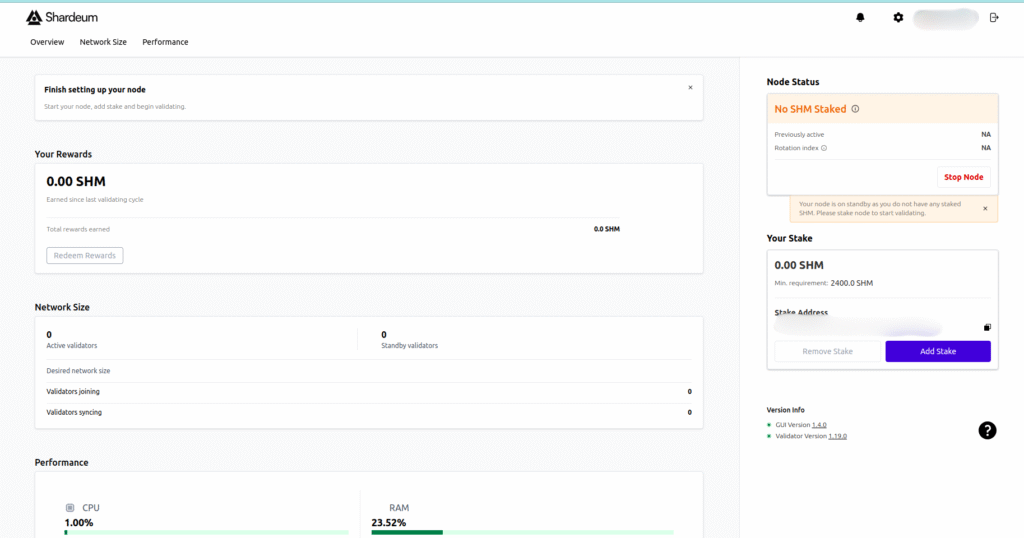
- After clicking, refresh the page to load updated validator status.
This action initializes your node’s participation in the network, prepping it for staking and consensus duties.
Step 11: Stake SHM
Upon refreshing, you’ll see a message prompting you to stake.
- Click on the ‘Add Stake’ button.
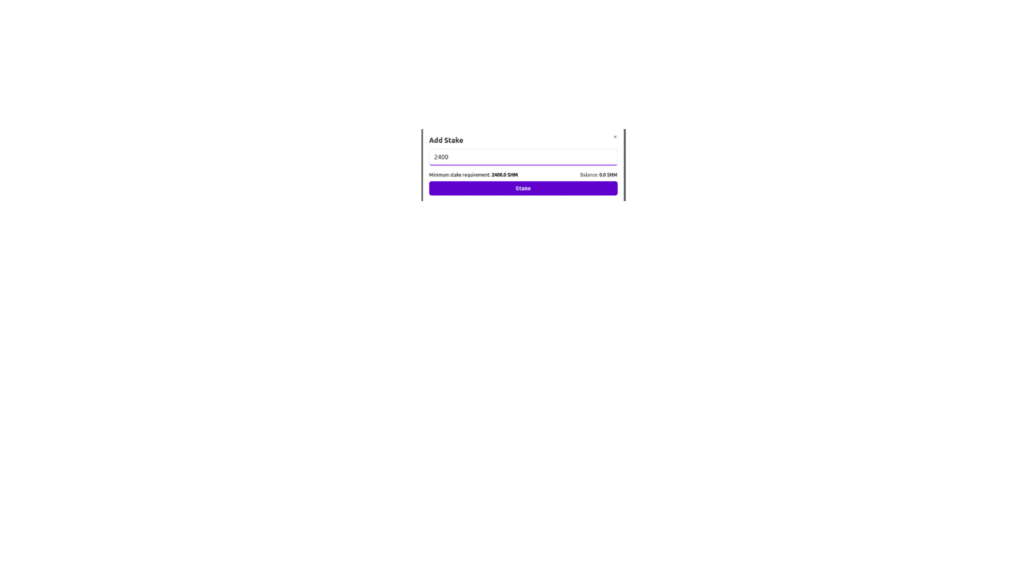
- Enter the minimum stake amount manually via your Shardeum wallet interface.
- Confirm and click ‘Stake’ to finalize.
After successful staking, your node will begin validating transactions on the Shardeum blockchain — earning you passive SHM rewards in return.
Why Run a Shardeum Validator Node?
Becoming a validator on Shardeum isn’t just a technical achievement — it’s an opportunity to play a key role in a next-gen blockchain ecosystem.
Here’s why you should consider it:
1. Be Part of a Scalable Future
Shardeum introduces true linear scalability — a validator node you run today contributes directly to increasing the network’s TPS. You’re not just supporting a chain — you’re scaling it.
2. Earn Passive Rewards
Validators receive a share of:
- Block rewards
- Transaction fees
As adoption grows, so do your earnings. Think of it as staking + infrastructure rewards in one package.
3. Support Decentralization
Unlike centralized chains or proof-of-authority systems, Shardeum encourages wide validator participation. Running your own node helps secure the network and reduce reliance on a few entities.
4. No Technical Barriers
At Instanodes, even non-tech users can run validators:
- No hardware headaches
- No server maintenance
- No CLI commands
Just a few clicks and you’re validating.
5. Self-Custody and Transparency
Instanodes doesn’t hold your rewards or keys. You retain full ownership of your SHM tokens and validator rewards, ensuring complete transparency.
The Power of Instanodes: Simplifying Web3 Infrastructure
While deploying nodes used to mean managing servers, firewalls, and config files, Instanodes brings Web3 infra into the modern era.
Why thousands of Web3 builders trust Instanodes:
- Multi-network support (EVM, non-EVM, rollups)
- One-click node deployment
- Real-time dashboards
- Global uptime
- Dedicated support team
Final Thoughts
Shardeum has a dynamic sharding model and EVM compatibility, which ensures its mainstay in the next era of Layer 1 blockchains. Becoming a validator today means you’re not just earning passive income — you’re actively shaping the network’s future.
With Instanodes, deploying and managing your Shardeum validator node is easier than ever.
So why wait?

Traditional Sectors often wrestle with the need for scalable infrastructure Read more..
Blockchain nodes are essential for the operation of any blockchain Read more..
Blockchain is a distributed digital ledger (also known as Distributed Read more..
Blockchain technology has experienced an amazing journey since it emerged Read more..